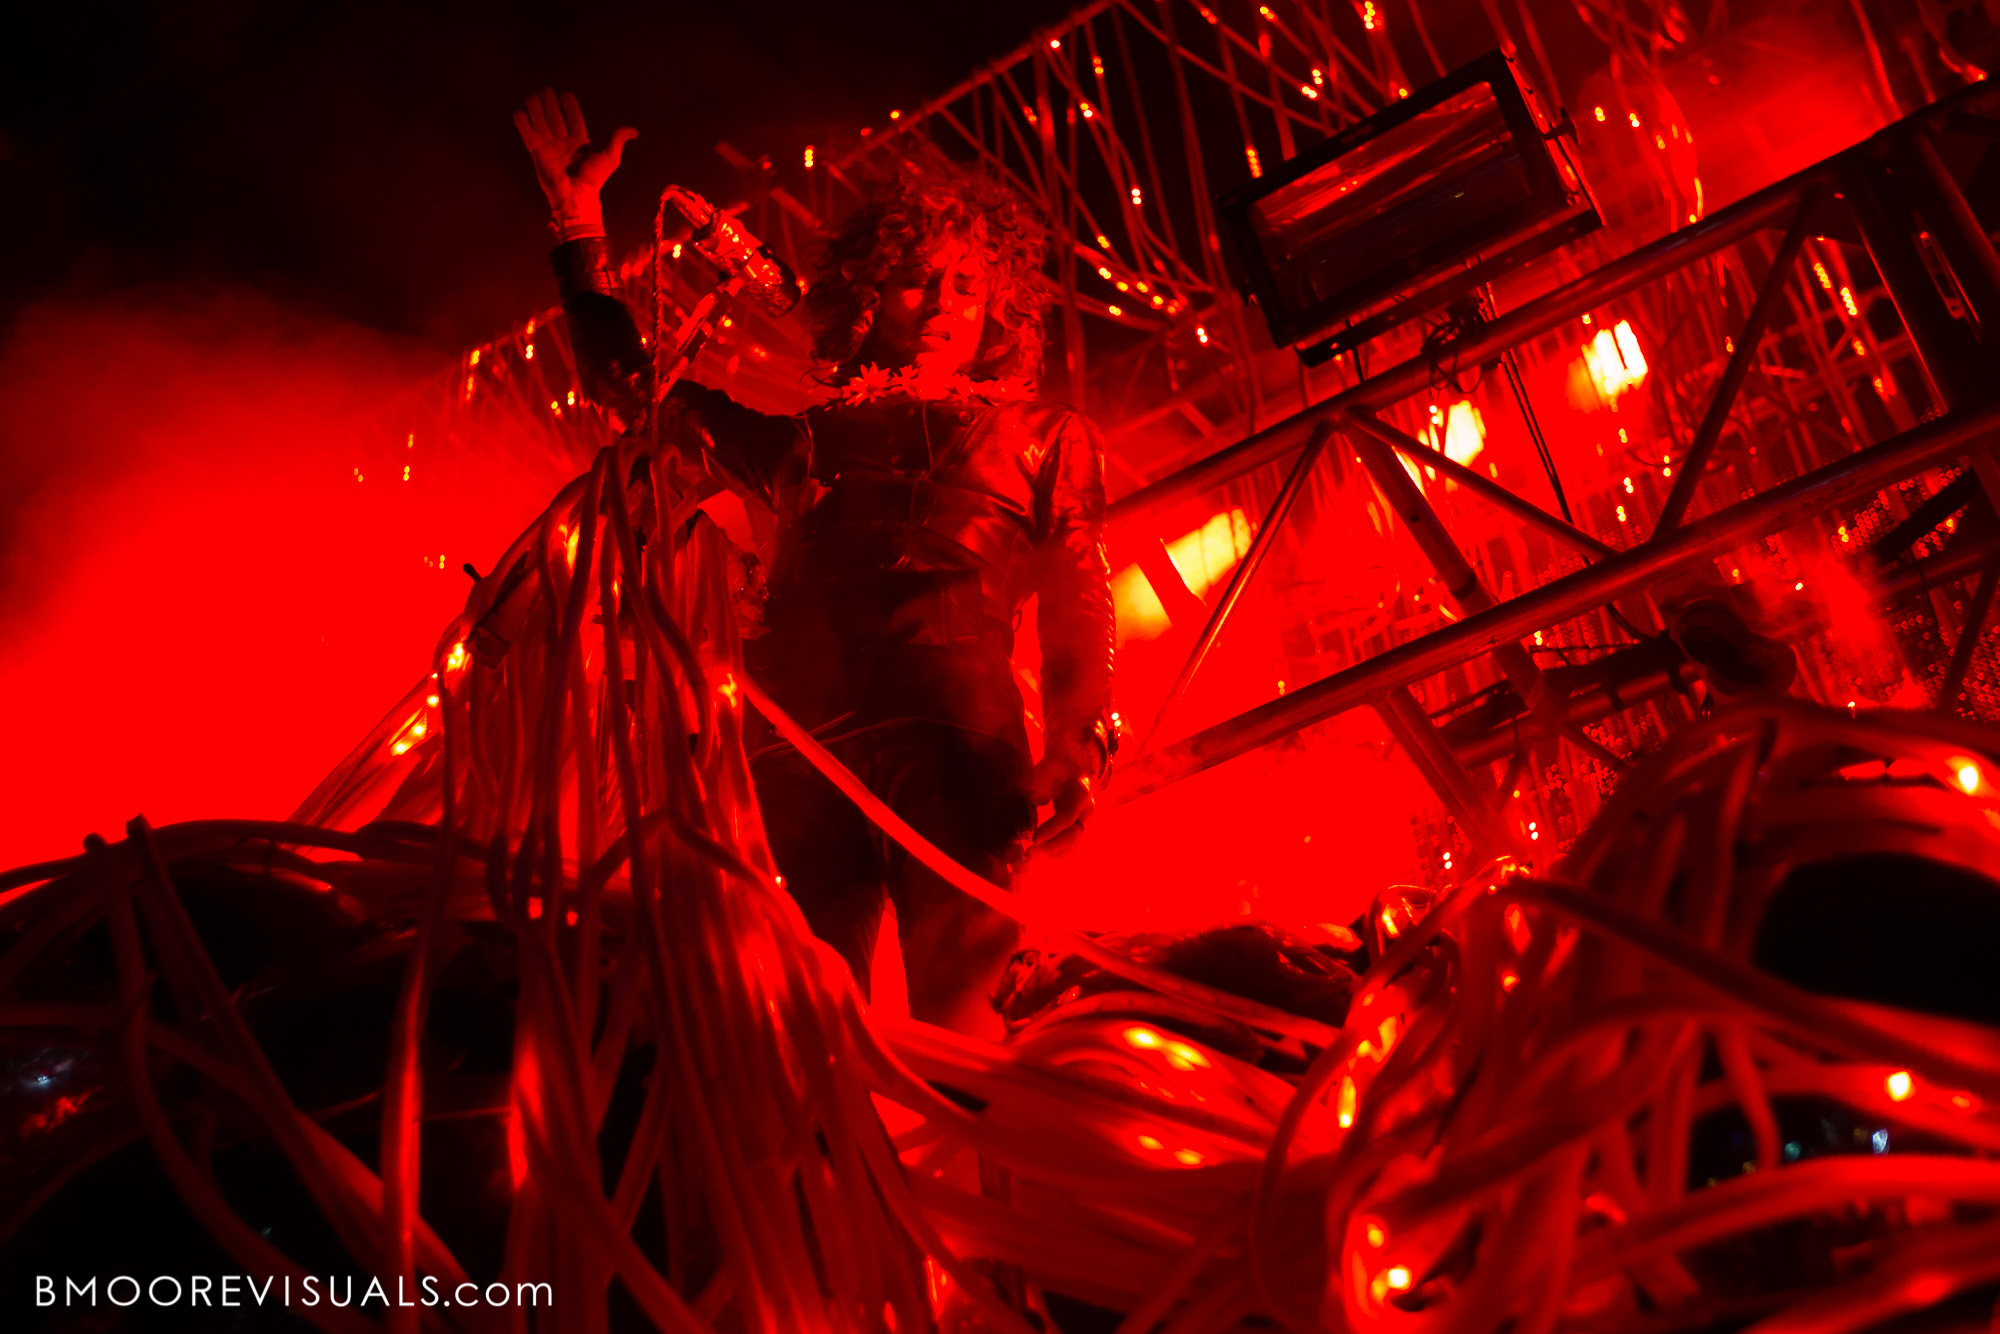
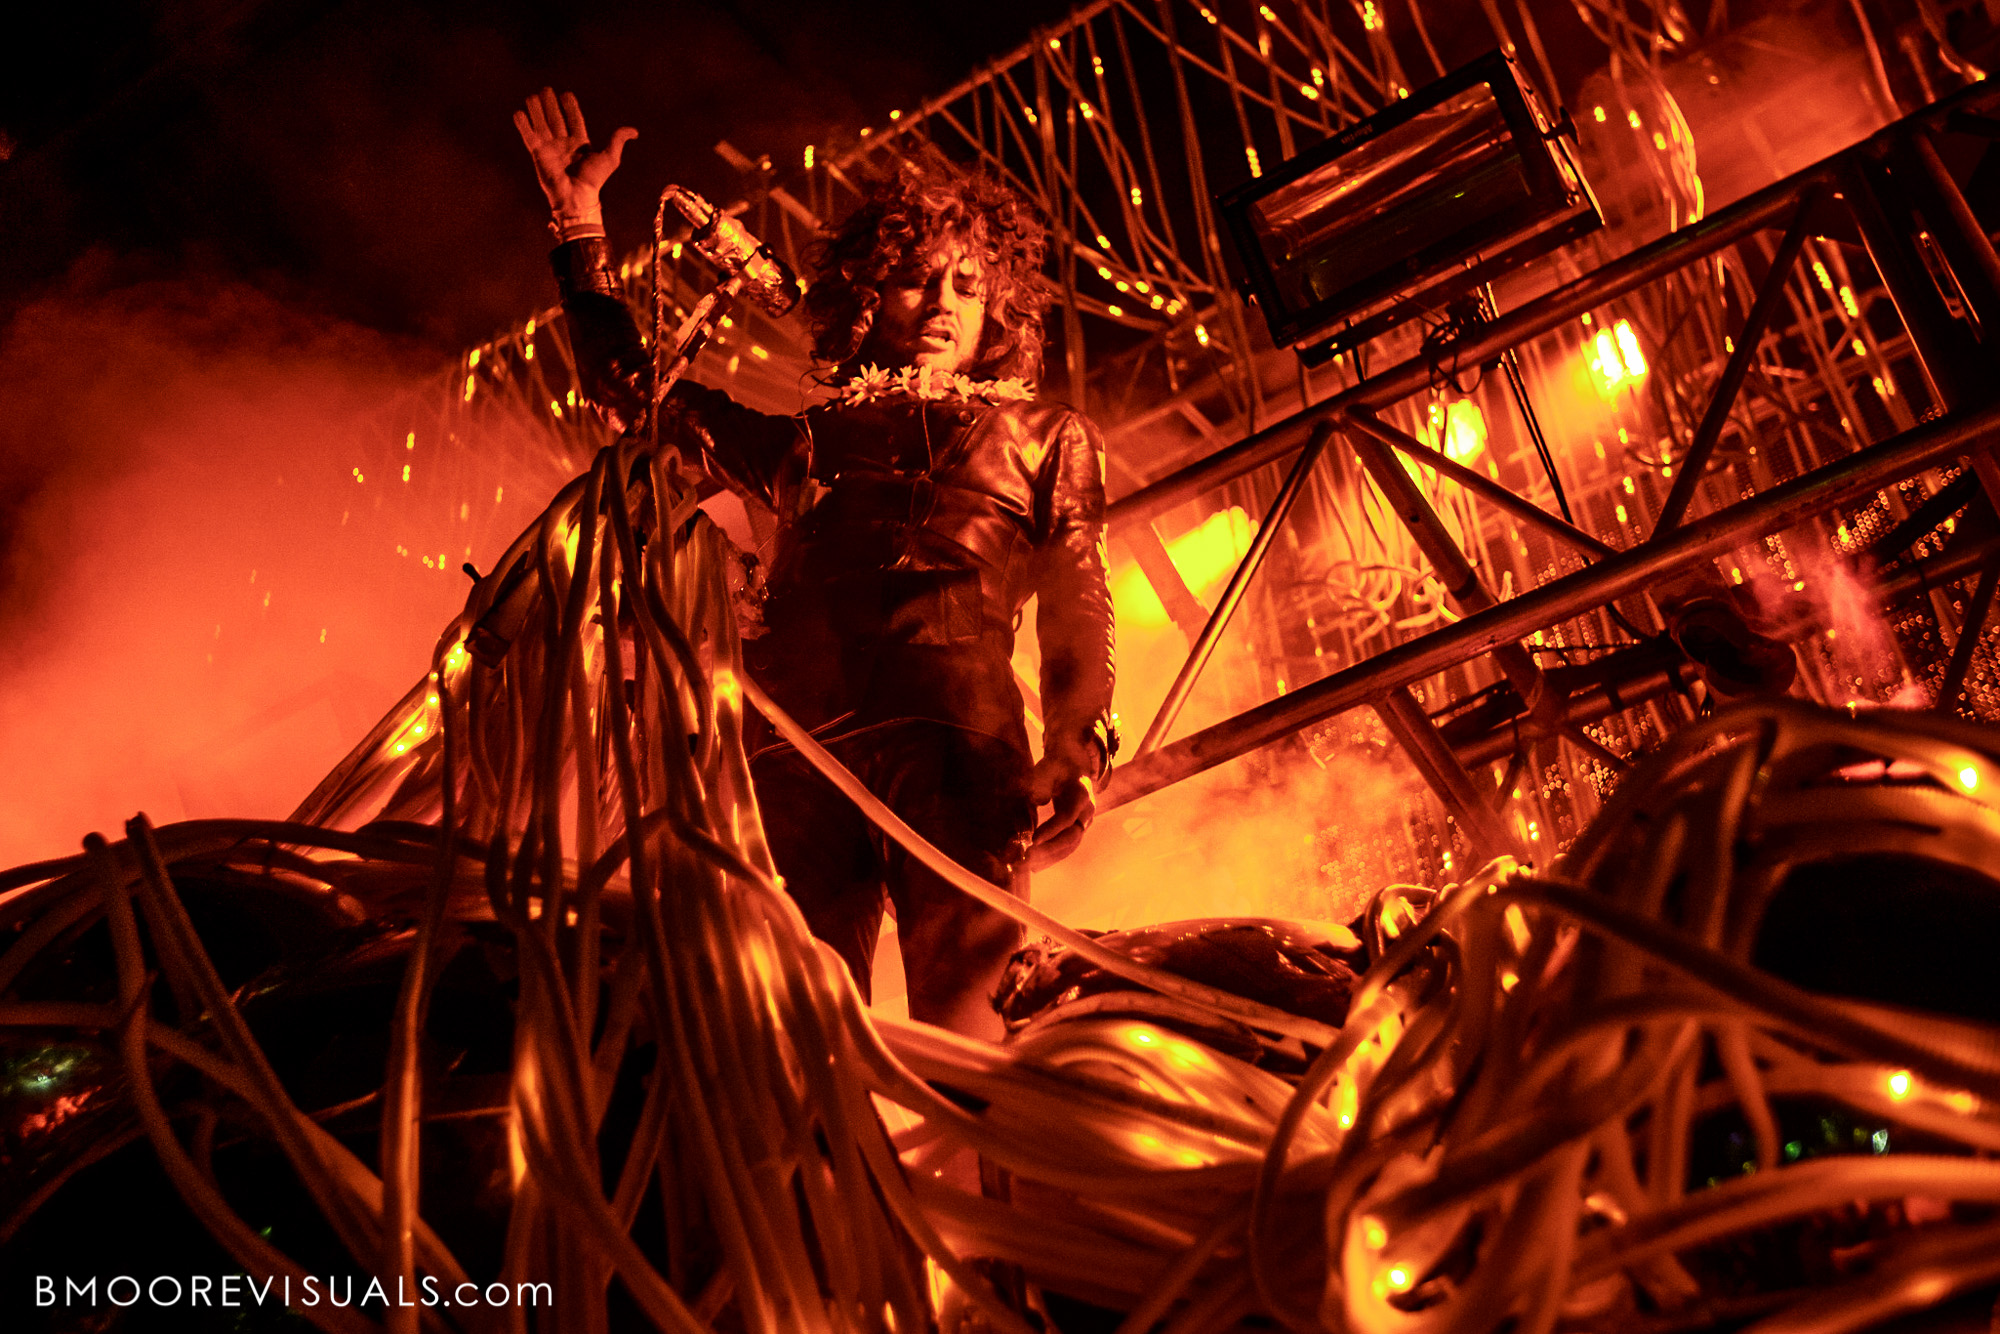
It’s every concert photographer’s nightmare… The dreaded red wash of light. No matter how much we despise it though, it’s something we are probably all going to have to deal with at some point. So, what’s the trick to making our photos look decent when faced with this challenge?
Our goal here is to minimize “blooming” that red light tends to produce while still maintaining the gWhether you’re processing your shots in Lightroom or Camera Raw, your first stop is going to be the Profile menu in the Camera Calibration panel. Now, what you see and choose here is going to depend on what camera(s) you have.
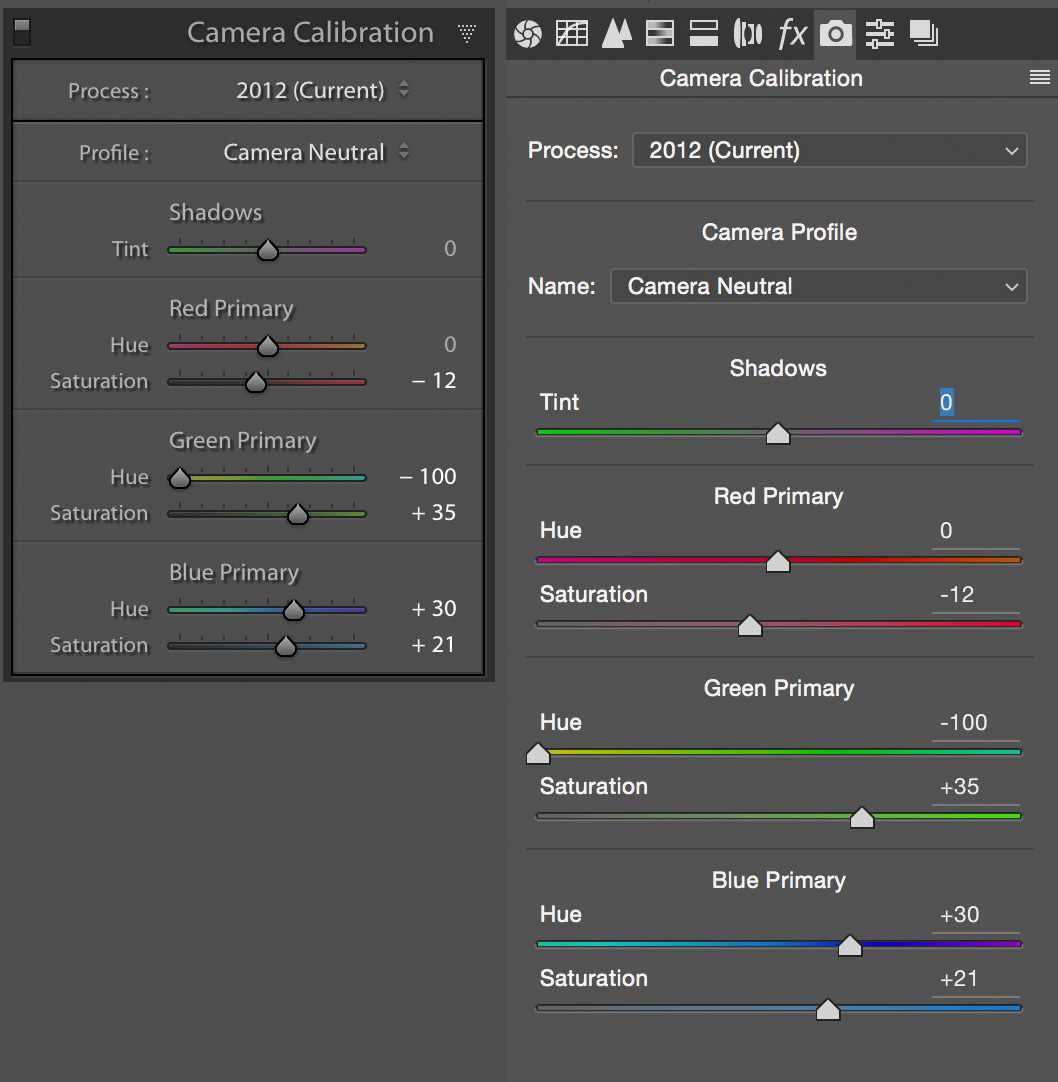
Generally speaking, you’re probably going to see Adobe Standard, then Camera Faithful, Landscape, Neutral, Portrait, and Standard. You may see others depending on your camera or if you have other third party profiles installed, like VSCO. The trick here is to try each profile and see how it treats your images. In this particular case, Camera Neutral works the best for me, but a different profile may work better in another instance.
Once you’ve chosen the profile that looks best, you can further make adjustments using the RGB hue/saturation sliders. The secret here is to adjust the Red sliders sparingly and stick to the Green and Blue sliders. You can try them, but they usually do more harm than good.

Now that you’ve tweaked everything in the Camera Calibration panel, most of the heavy lifting is done. From here any other adjustments you make are most likely going to only make minimal changes.
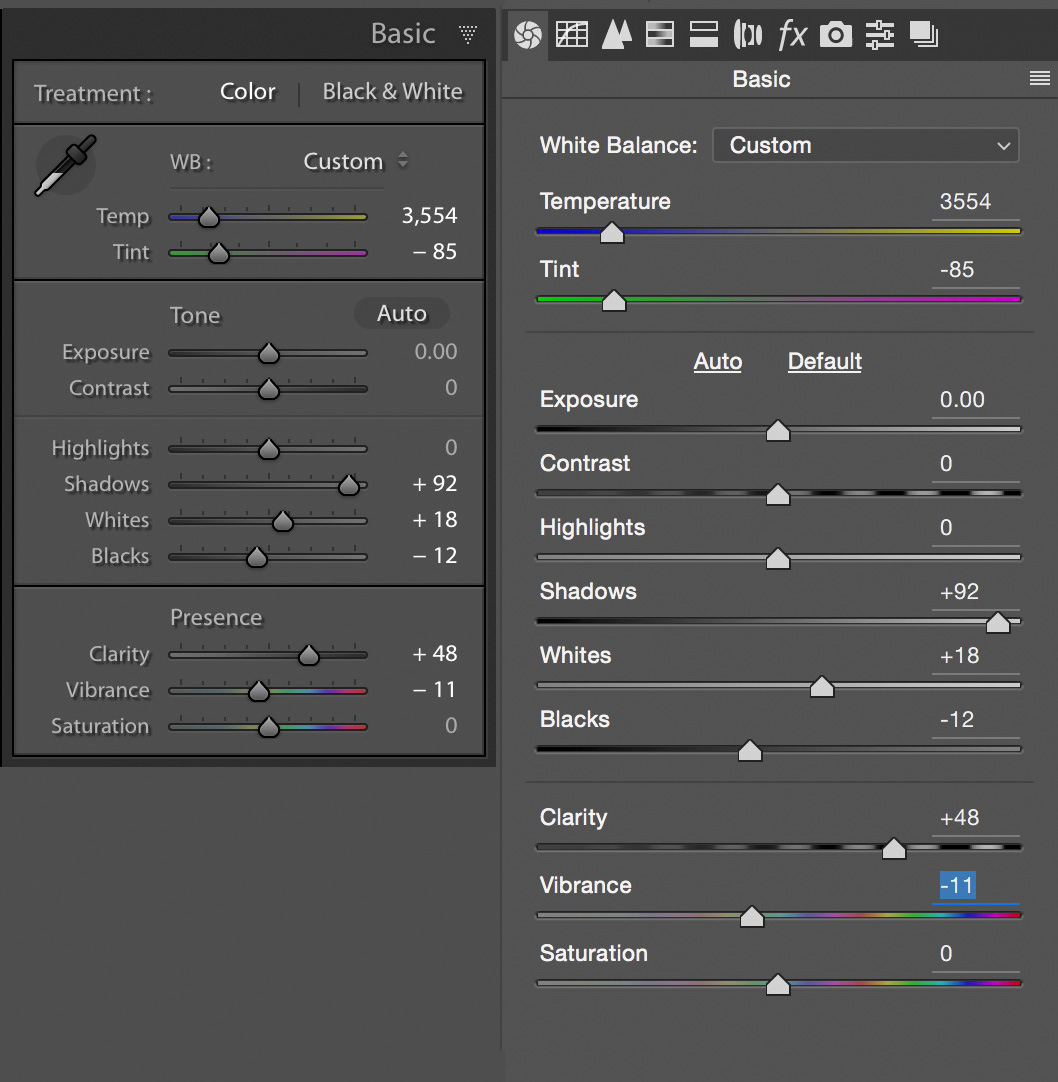
Let’s go back to the Basic panel. Here we can play around with the White Balance temp/tint sliders and see if they can be of any help. Adjust to your liking, then move on to the other adjustment sliders. Increasing the Clarity can help with the red “bloom,” and decreasing the Vibrance can as well.
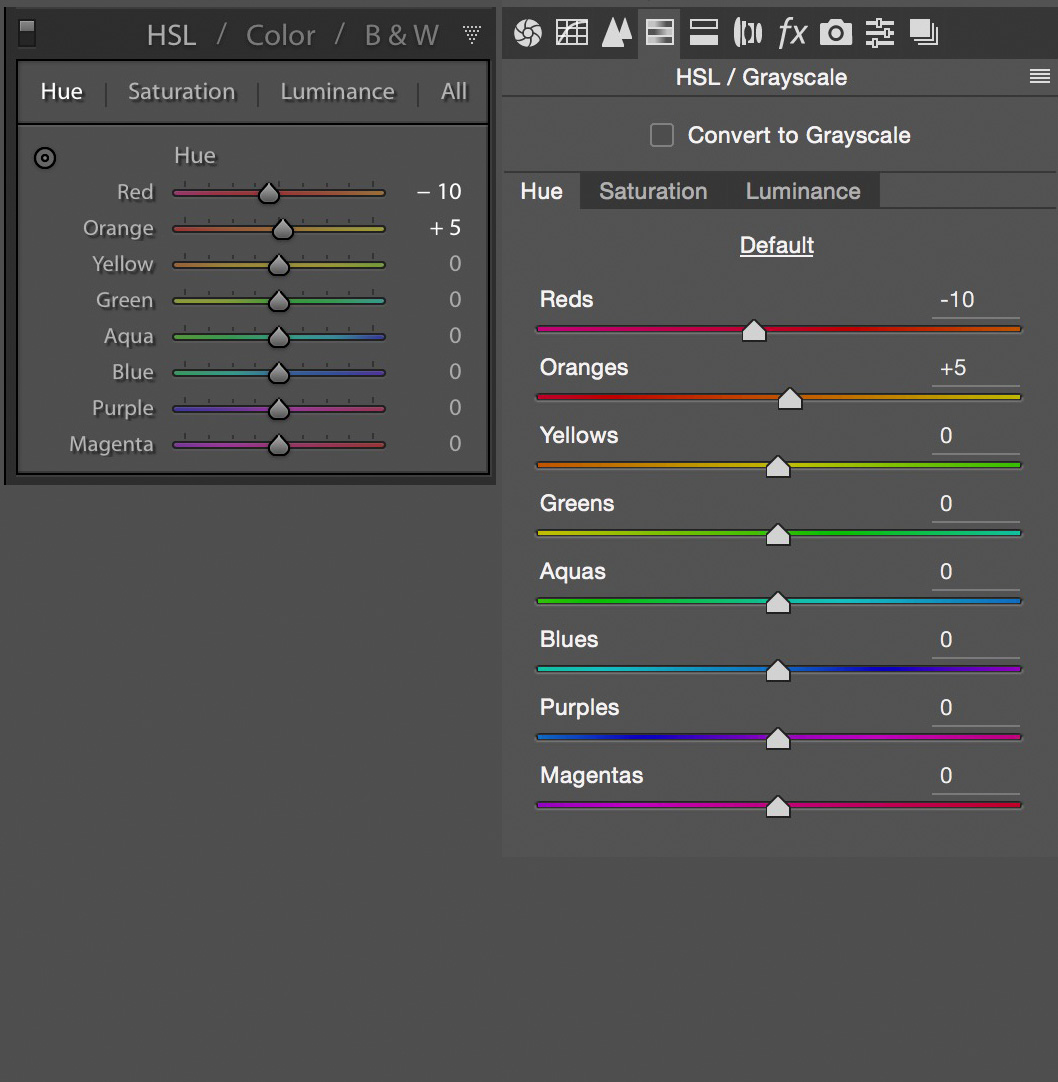
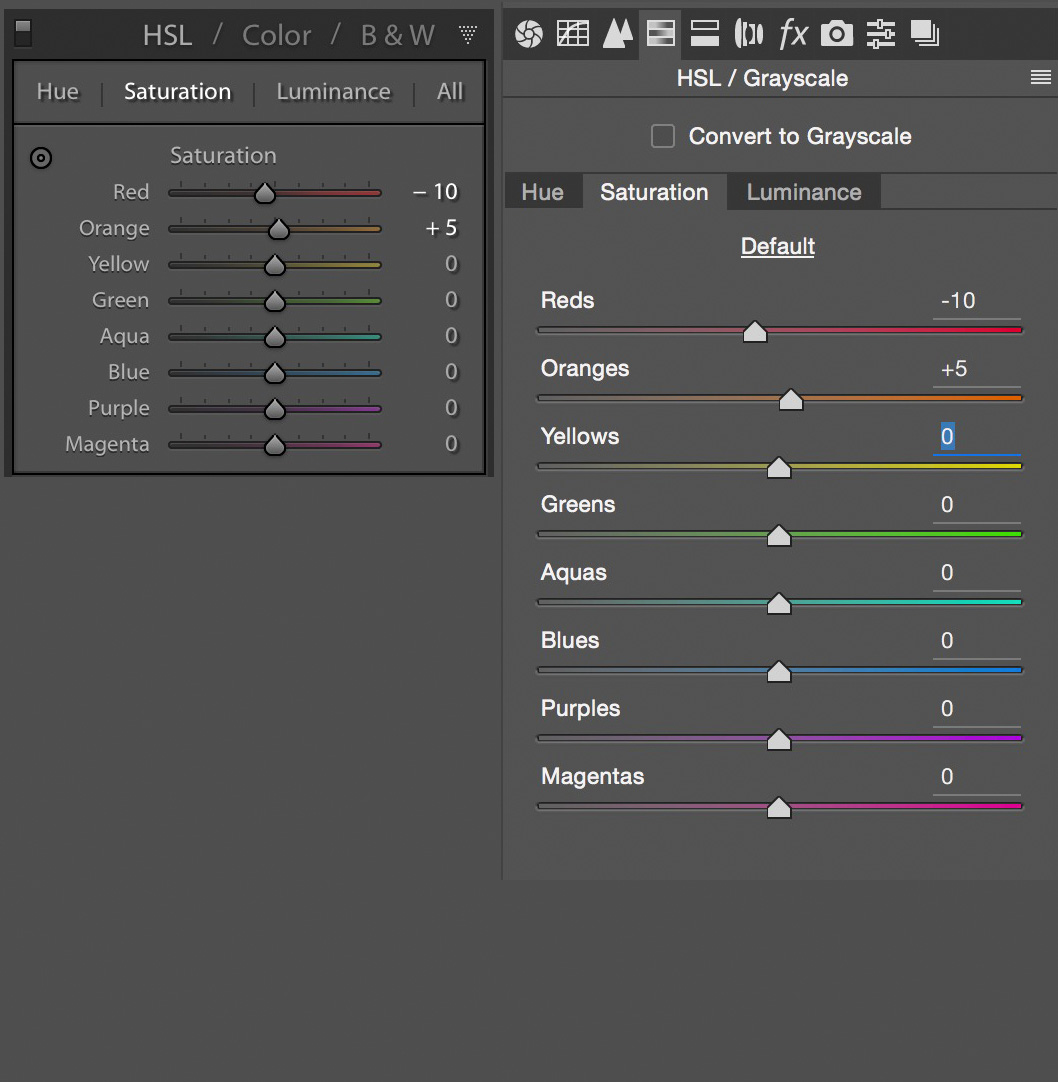
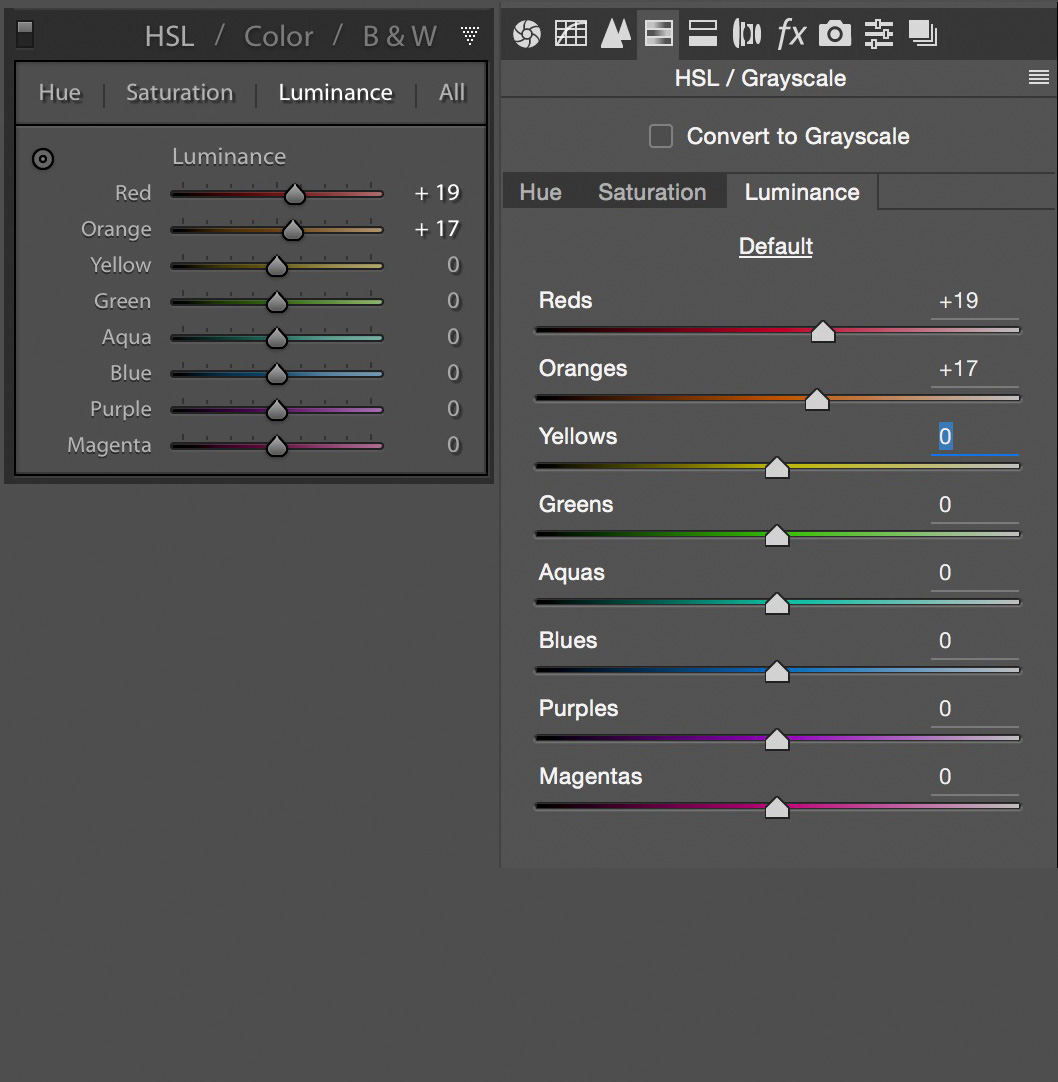
There’s also the HSL panel… You may see some improvement with minor tweaking of the red and orange Hue sliders (just be careful not to go overboard with these). And, of course, the red and orange Saturation and Luminance sliders can help as well.
Now, depending on how well (or badly) your camera handles the red light, you may either be satisfied with your image now, or it may still look terrible. If you’re in the latter scenario, it’s time to break out the secret weapon… Black and white.

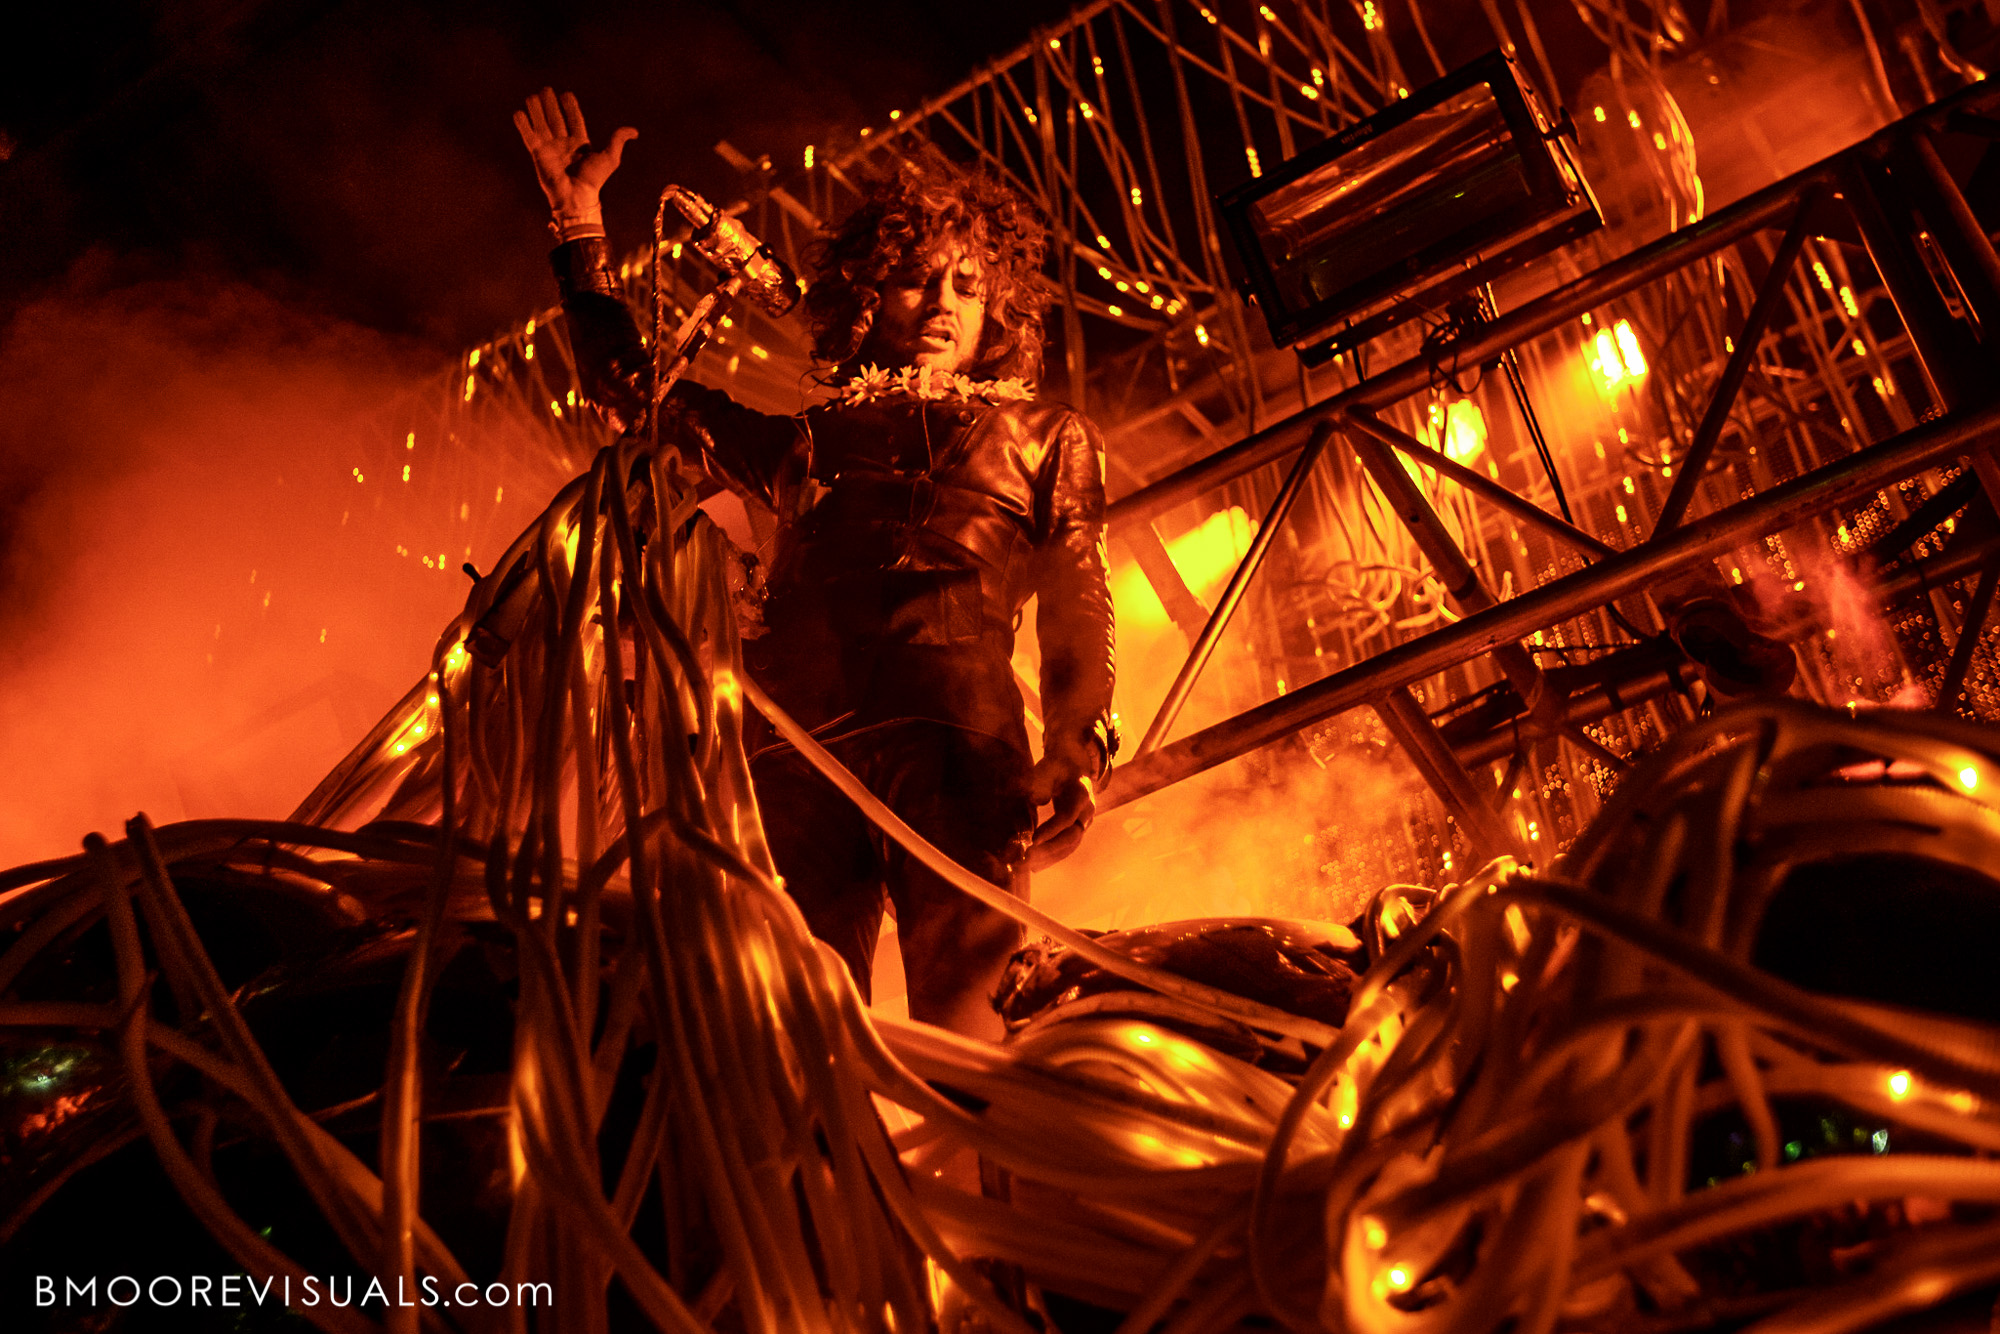
There you have it… All of my tricks for dealing with red light. The settings and adjustments you see here were based on my example photo and not meant to be a fix-all for every right light image. You can try them on yours if you want, but your results will definitely vary from image to image. My objective here was to point you to the most useful adjustments and settings.
If you do find settings that are a useful starting point for your red light shots, you might want to create a preset so you can save time on your next edit!