Choosing lenses can be confusing with so many things to take into consideration… Focal length, maximum aperture, weight, price, prime vs. zoom, etc. I’m going to try and break things down as best I can and hopefully give you a better understanding of all this so you can make a more informed decision on what to purchase.
What Do All Those Numbers Mean?
When looking at lenses, you’re going to see lots of different numbers. The first ones are going to be followed by mm. So, 24-70mm or 70-200mm or 16-35mm or whatever. This is the focal length. The smaller the number, the “wider” the lens, so these are called wide angle lenses. The bigger the number, the “longer” the lens, and these are called telephoto lenses once they’re 70mm or more. After these numbers, you’ll see some that start with f/. So, f/2.8, f/4, f/3.5-5.6, etc. This is the maximum f-stop or aperture (the terms are relatively interchangeable). The lower the number, the “faster” the lens, aka glass. The bigger the number, the “slower” the lens/glass. Let’s dig into these two sets of numbers a little deeper…
Zoom vs. Prime Lenses
If you see two numbers, like 24-70mm, on a lens, that means it’s a zoom lens. These lenses let you get closer to or further away from your subject without physically moving yourself to do so. If there’s only one number, like 35mm, this means it’s a fixed focal length, or “prime,” lens. So if you want to get closer or further away from your subject, you have to “zoom with your feet,” as Joe McNally says.
Fixed vs. Variable Aperture
If you see one number, like f/2.8, on a lens, that means it’s a fixed aperture lens. All prime lenses are fixed aperture, as well as some zoom lenses. This means that no matter what focal length the lens is at, your maximum aperture will remain the same. If you see two numbers, like f/3.5-5.6, then it’s a variable aperture lens. This means that as you zoom the lens in or back out, the maximum aperture is going to change. If I’m using an 18-135mm f/3.5-5.6 lens, the maximum aperture will change from f/3.5 when I’m at 18mm and then incrementally increase to f/5.6 as I zoom to 135mm.
Putting It All Together
While zoom lenses can be fast, prime lenses tend to be faster. For example, the Canon 24-70mm f/2.8 is around $1750 currently. But if I wanted a faster fixed lens, I have lots of options at different price points. I can get a 35mm f/2 lens for around $600 or the original f/1.4 version for around $1000 (there’s a new version that is priced around $1800). Lots of 35mm options for Nikon shooters as well. Or I can look at the Canon 50mm lineup and go anywhere from $110 for the f/1.8 version to $350 for the f/1.4 version or even tack on an extra grand and spend $1350 for the f/1.2 version. Again, Nikon also has various 50mm options.
But, you have to take into account what kinds of shooting situations you find yourself in most often. Can you zoom with your feet? If so, then prime lenses might be the best for you. If not and you’re in situations with limited space (say, a photo pit at a concert), then zoom lenses might be best. And what camera are you shooting with? Does it handle high ISO situations pretty well? If so, you might prefer shooting at a higher ISO with a slower lens to spending more money on a faster lens.
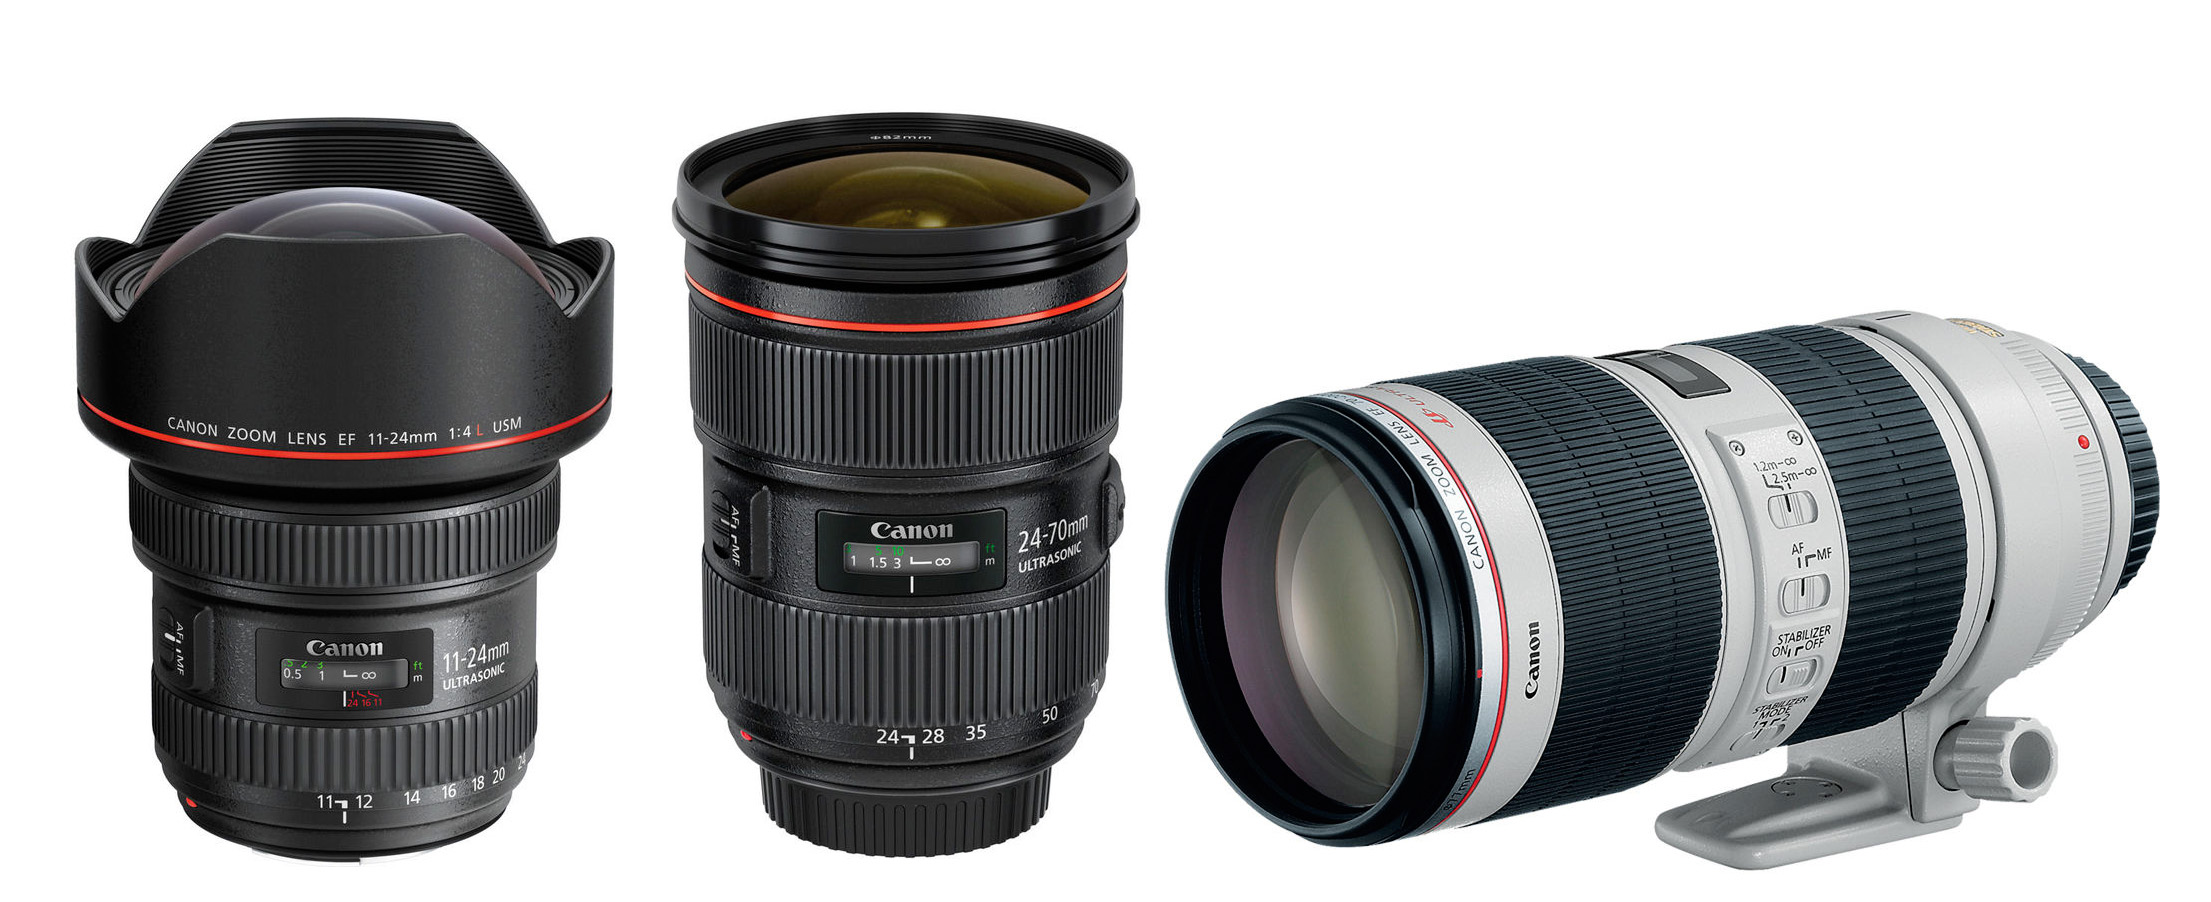
The “Standard” Pro Setup
A lot of working pros have what is referred to as the “trinity” of lenses. For Canon shooters, that’s the 11-24mm f/4 or 16-35mm f/2.8, 24-70mm f/2.8, and 70-200mm f/2.8. For Nikon shooters, it’s the 14-24mm f/2.8, 24-70mm f/2.8, and 70-200mm f/2.8.
Why these lenses? They’re going to cover you really well in most situations all the way from super wide to telephoto, and they’re all pretty fast lenses so they’re helpful if you’re shooting in low light situations. These are also high end lenses, so they’re going to put a dent in your wallet. Worth it if you need it, but…
Saving Money
Do you really need to spring for the most expensive options? Unless you’re shooting in low light situations, you probably don’t. For example, my buddy Peter Hurley does the vast majority of his work in the studio where he’s controlling the light, so he uses the Canon 70-200mm f/4 lens instead of the 70-200mm f/2.8. What’s the difference? About $1350, a stop of light, and nearly half the weight.
So, for Peter the f/4 version makes more sense because if he needs more light, he’s in his studio and can adjust the power. And he never shoots at f/2.8, so why spend all that extra money and add twice the weight to what he’s holding and carrying around in his gear bag? Nikon makes 70-200mm f/4 and 70-200mm f/2.8 lenses as well. The price difference isn’t as big as Canon’s, but $600 is still a lot of money!
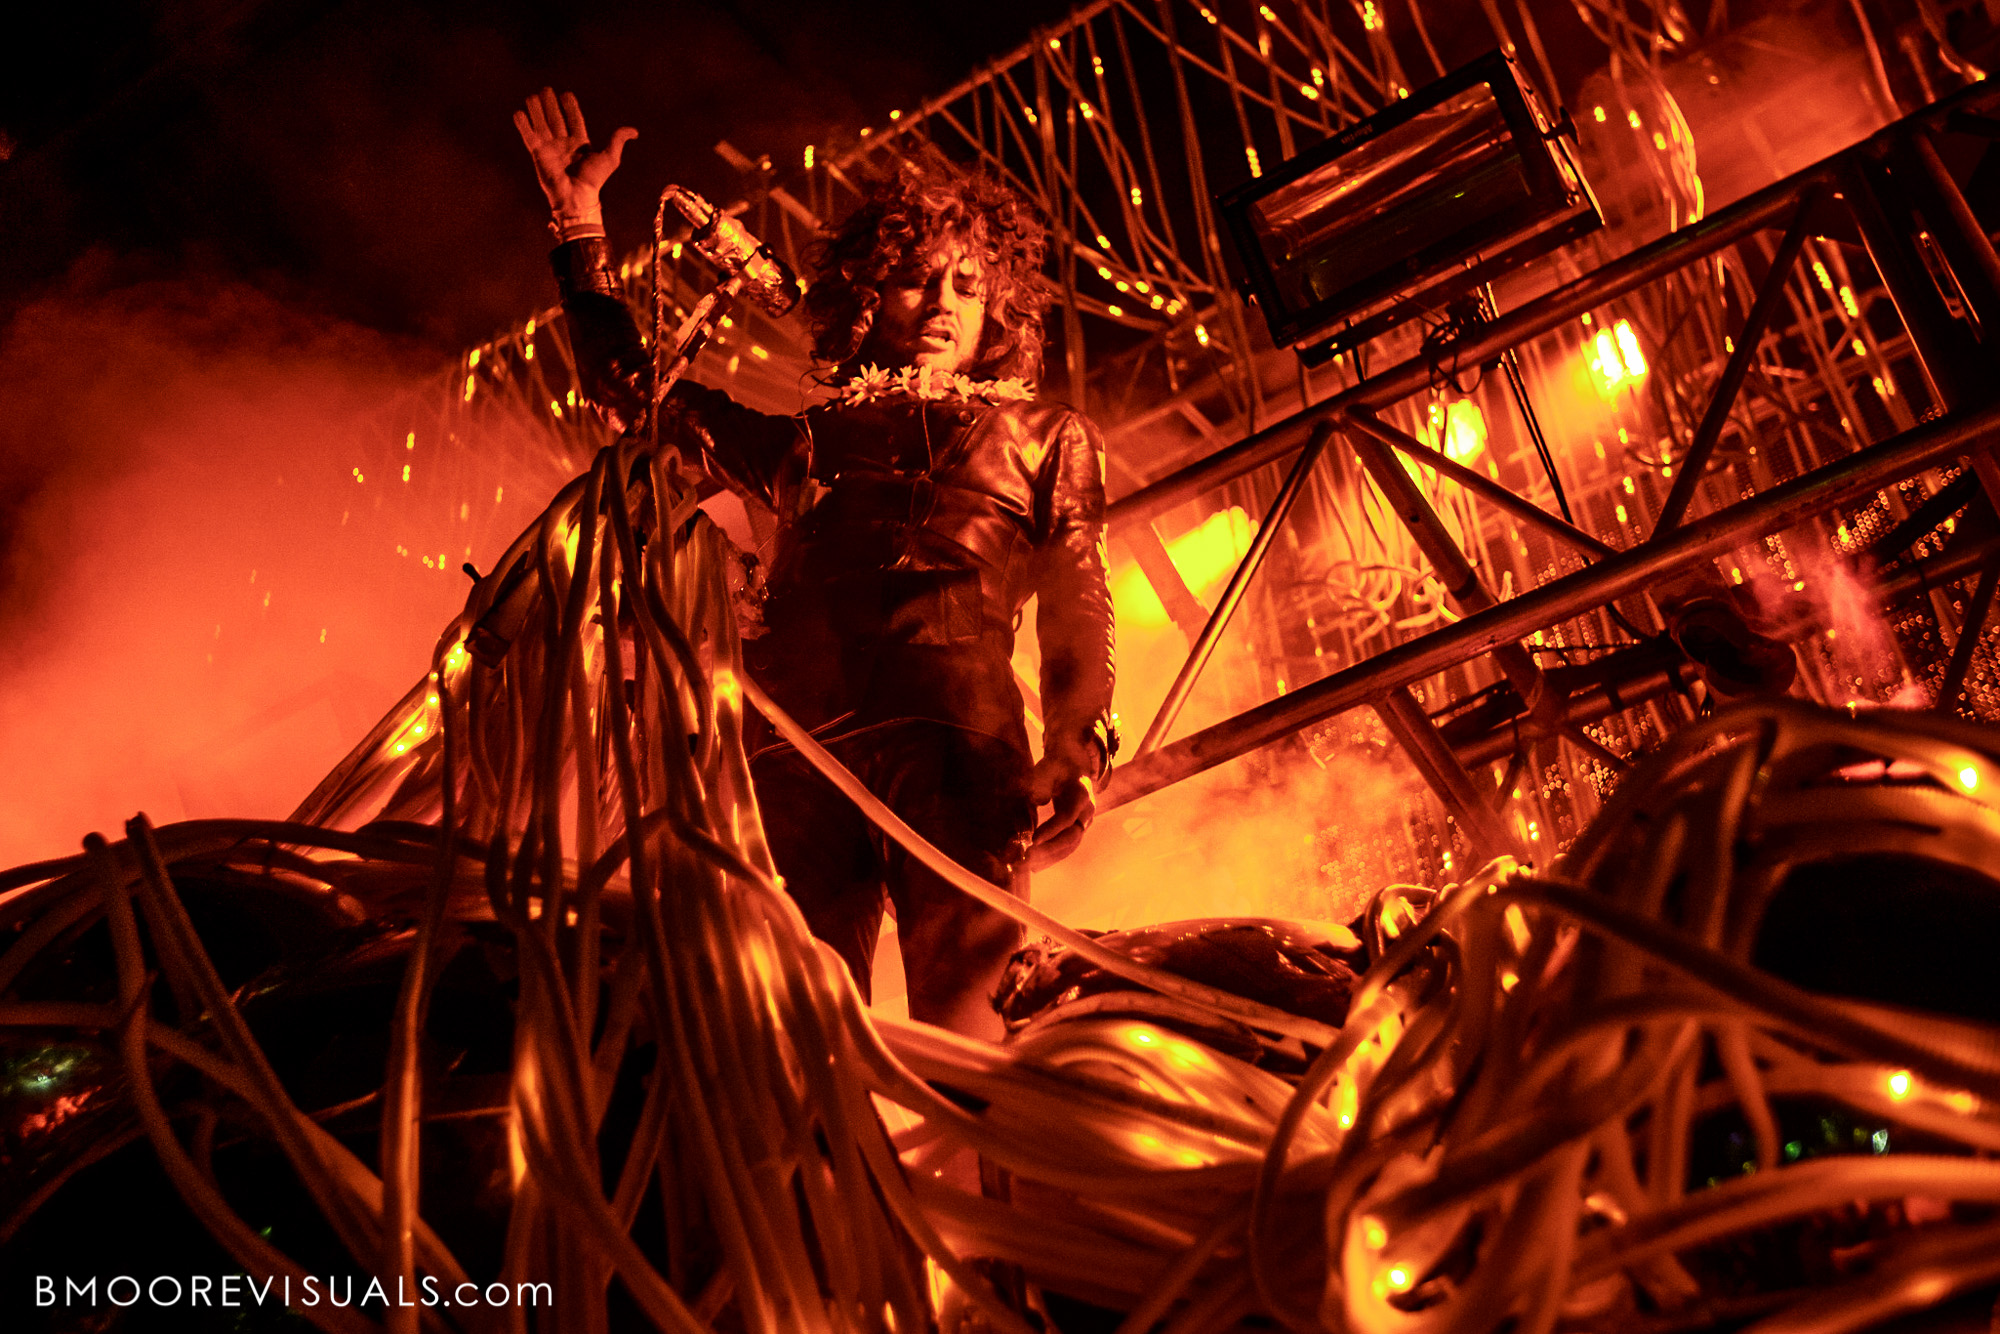
But for someone like me who does concert and behind the scenes work, I need that extra stop of light that the f/2.8 version gives me. Could I get by with the f/4? A lot of the time, yes. But if I’m in a small venue with bad lighting trying to shoot a high-energy artist that doesn’t allow flash, I’m going to be hard pressed to get a single shot that isn’t blurry, even at 25,600 ISO. My wallet may be thinner and my shoulders may be a bit more sore at the end of the night, but at least the images are sharp!
Full Frame vs. Crop Frame
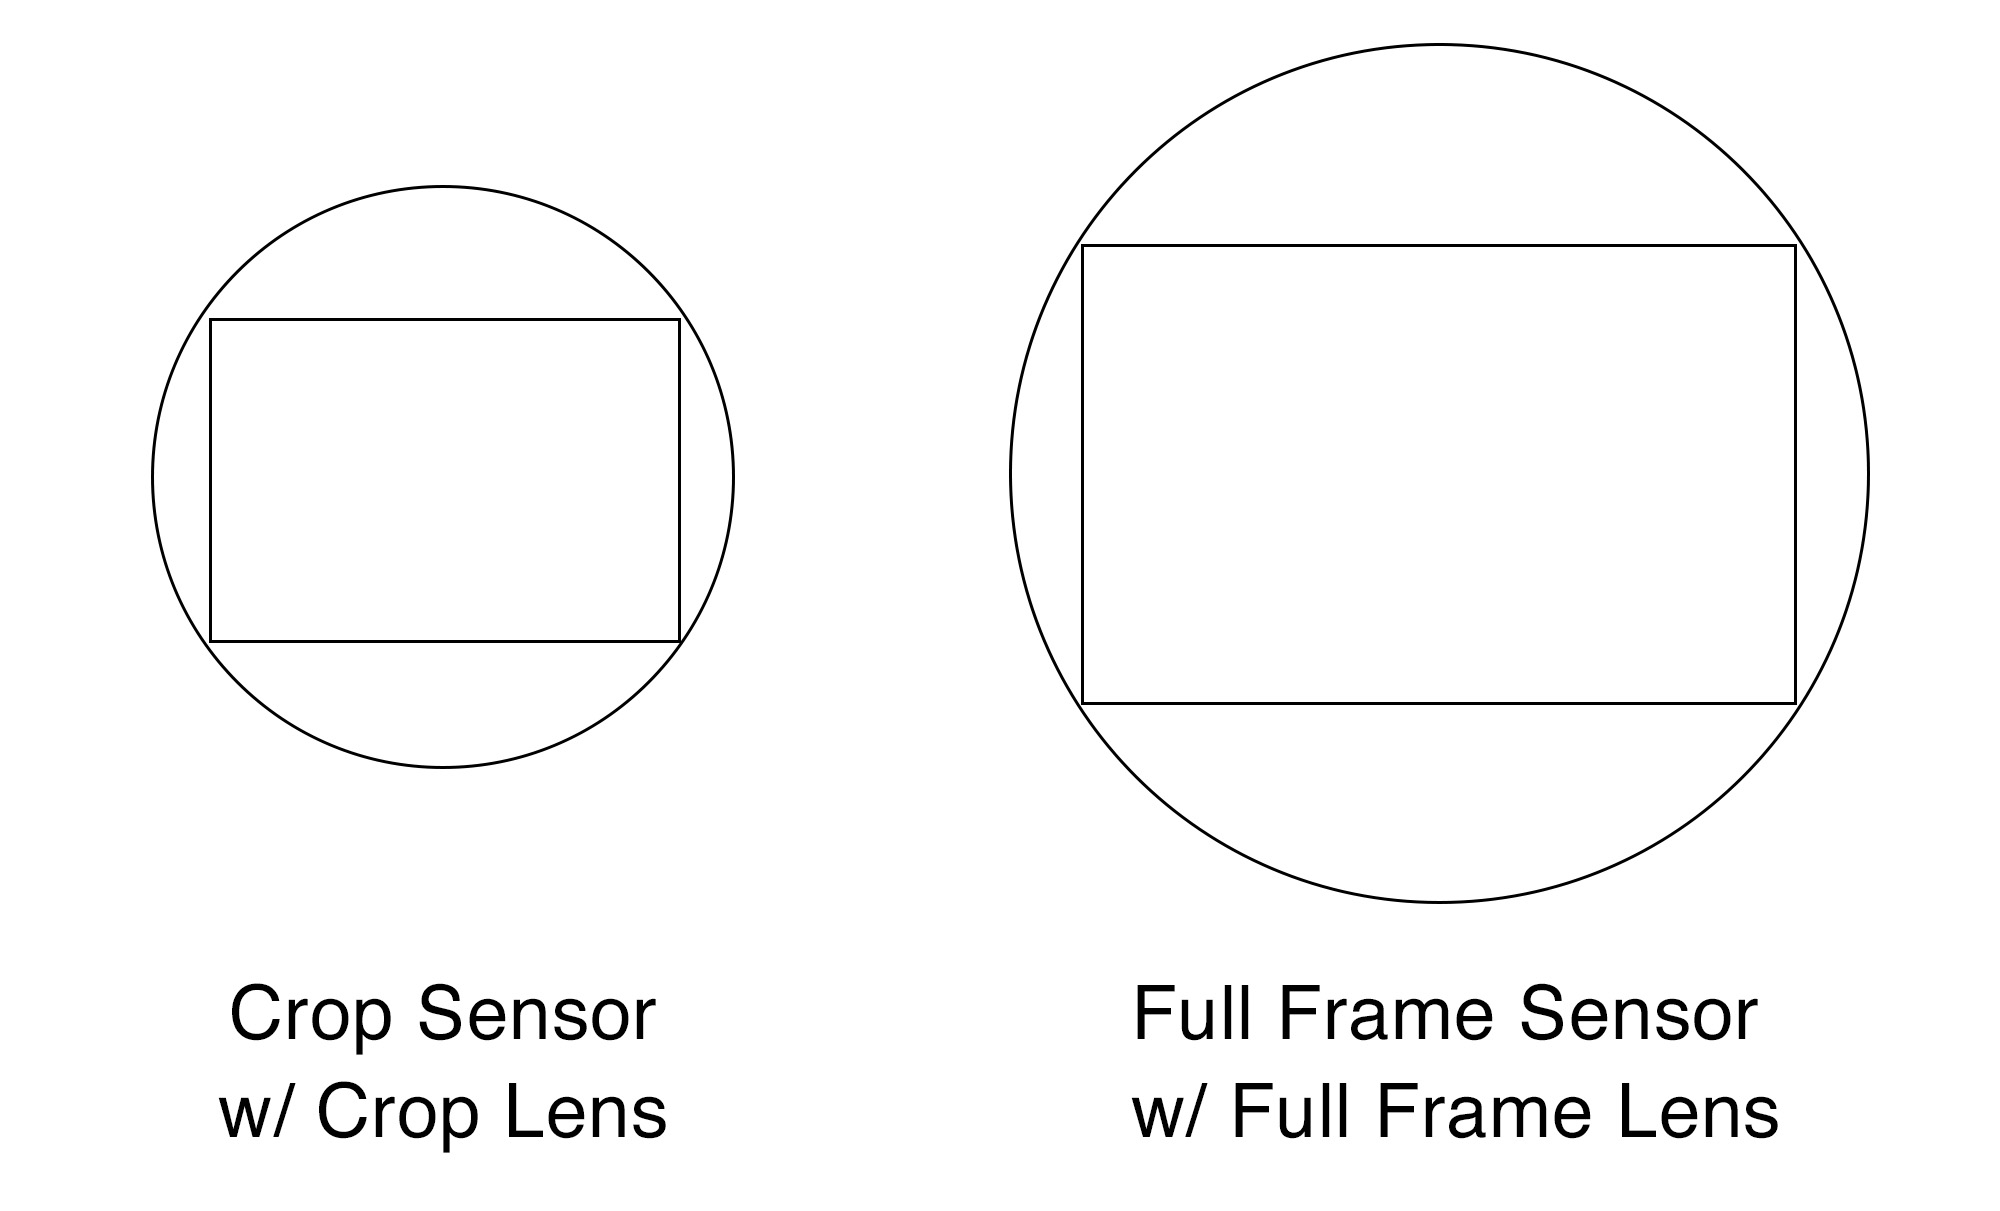
One last thing to consider is whether you’re shooting on a full frame or a crop sensor camera. Most of the lower-end DSLRs are crop sensors, meaning they are smaller than full frame sensors. Some lenses are made to only cover the size of the crop sensor, so if you use them on a full frame camera, your image will be cropped and you’ll lose some of your resolution, as you see below on the right.
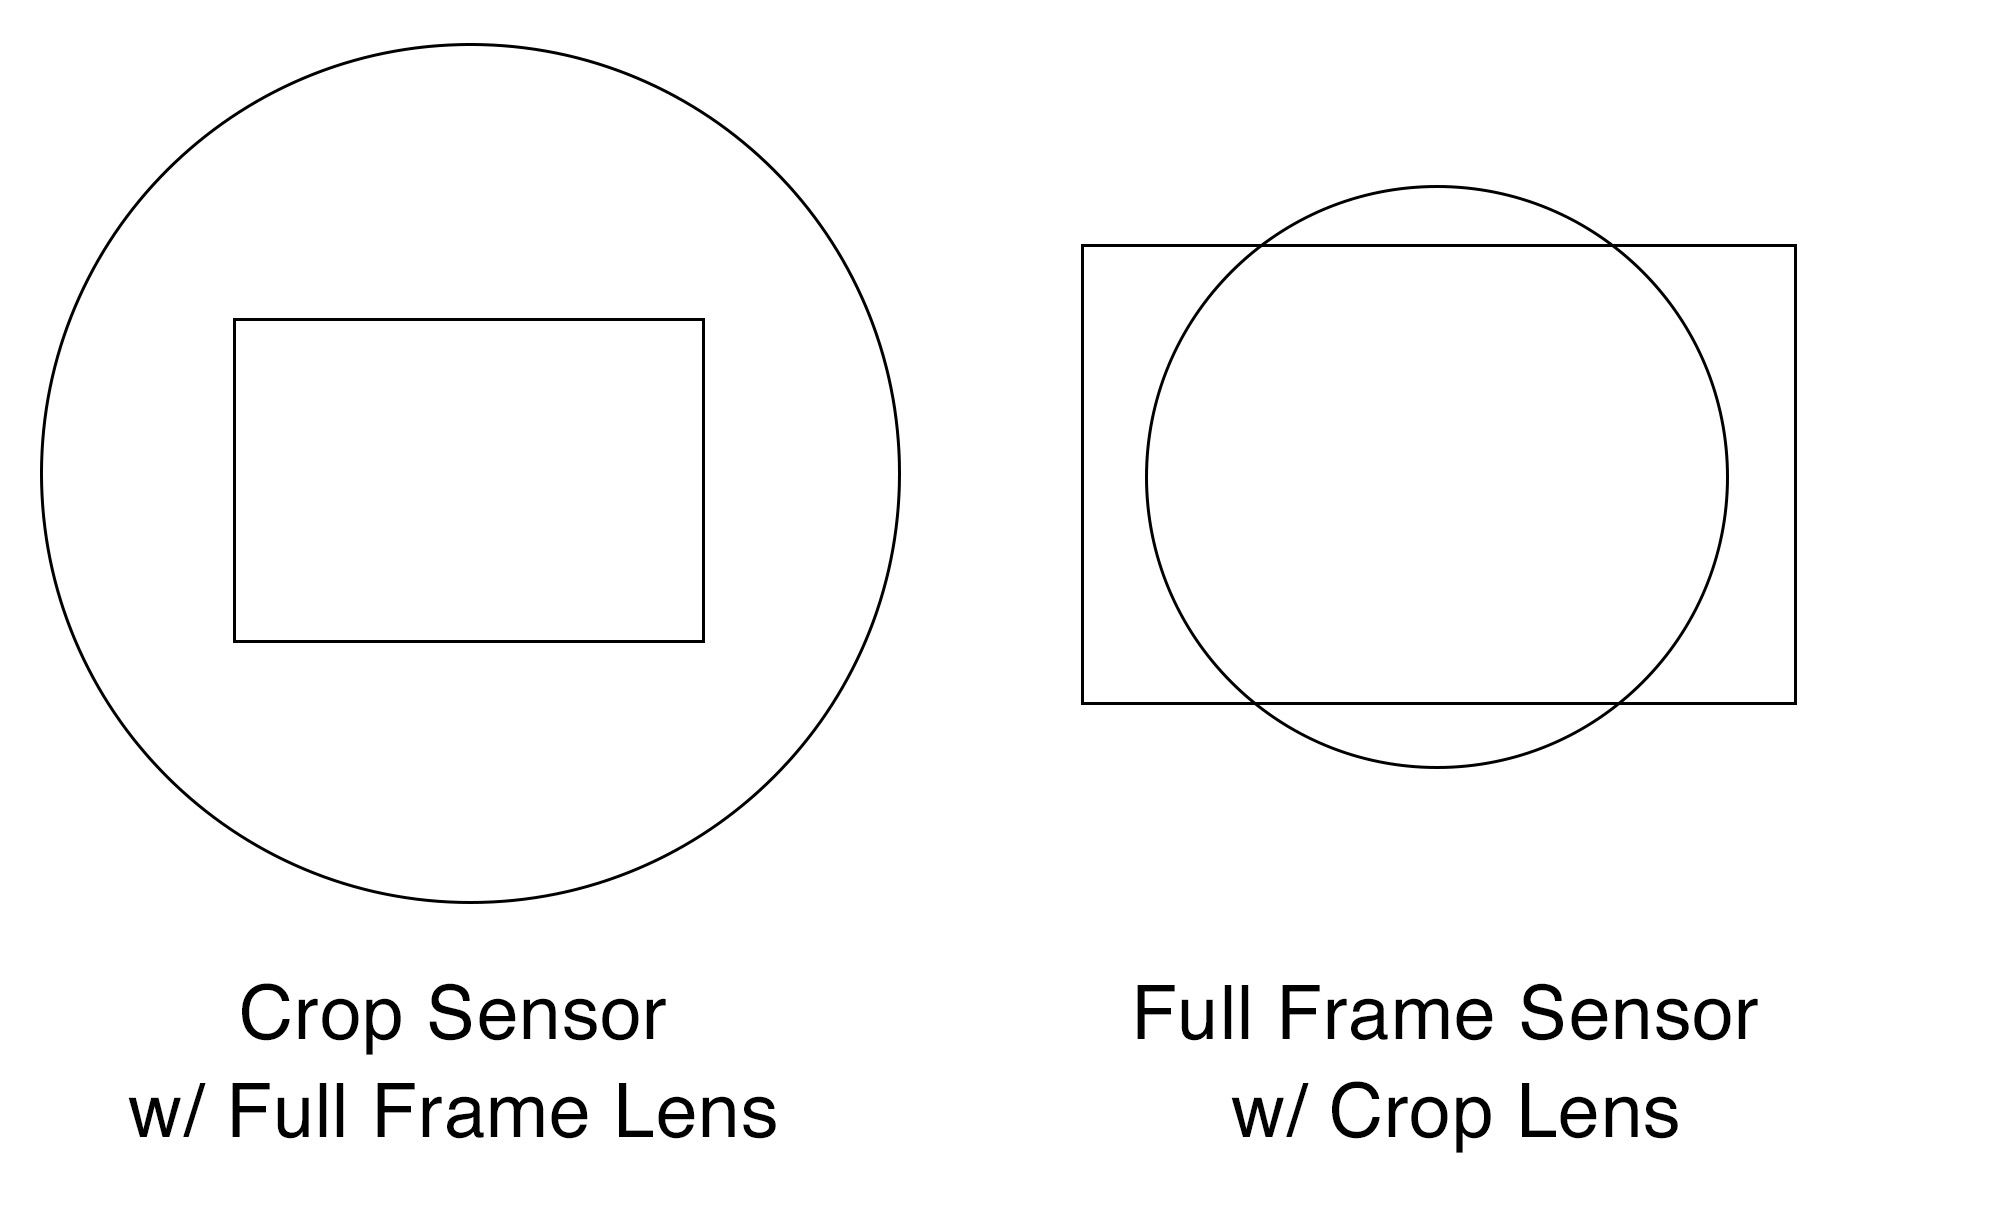
However, if you purchase full frame lenses, you can use them on any camera without a loss of image resolution. If you do use them on a crop sensor camera, then they effectively become a “longer” lens because of the smaller sensor size. So what was a 70-200mm lens becomes an approximately 105-300mm lens, depending on the exact size of the crop sensor.
So which should you buy? If you never plan on upgrading to a full-frame camera and alway sticking with a crop sensor camera, then you can save some money and only buy crop lenses. But if you think you might make the jump to a full frame camera, it’s up to you if you want to save in the short term then buy new lenses when you make the jump, or go ahead and invest now to save yourself the hassle later.
On Canon, crop lenses are indicated by the letters EF-S (full frame lenses are just EF), and Nikon indicates their crop lenses with the letters DX (full frame lenses are FX). And to find out if your camera body is full frame or crop sensor, just look up the specs online and it should be one of the first things listed. Canon crop sensors will say APS-C sensor (full frame will just say full frame), and Nikon crop sensors will say DX-Format while full frame will say FX-Format.
Conclusion
I hope this helps you when choosing which lenses to buy. When in doubt, you can always rent lenses (and other gear) from places like LensProToGo, Borrow Lenses, or Lens Rentals to try them before you buy them. And once you do decide to make the purchase, using my B&H affiliate links for Canon lenses and Nikon lenses will help me keep bringing you content like this.